Thursday, 7 March 2013

Sourdough starter p.130 / 131 & basic sourdough p. 132 / 133

This takes time ... at least to make your sourdough starter ... which I am still making.
But this relies on natural yeasts developing.

The mix is strong plain flour, water and an organic grated apple.
The side of the Allinson's pack of strong plain flor just has flor and water .. but I am working through Paul's recipes so stick to his ingredients.

I started Tuesday 26th February.
I should have started Monday but couldn't source any organis apples locally so had to go to Tesco on the Tuesday morning.

I mixed the strong plain flour, water and grated (skin included) apple :


and then placed the mix into an airtight container. A smaller airtight container - 2 litre container would be best.


By Thursday evening it had started to bubble and smell sweet - a slightly aroma of alcohol.
Friday afternoon (1st March) I discarded one half of the mix and then mixed the remaining half with more flour and water. Once thoroughly mixed placed back into the airtight container for a further two days. So tomorrow afternoon I will add more flour and water having again discarded half.

Well truth be known, I created a second batch as you can just make out in the photo above rather than discard half.

So now having two batches in my ever warm kitchen, fed them both - added more flour (250g) and enough water so it wasd back to a gloopy consistency.

After 24 hours if it is bubbling occasionally it is ready to use.
But since I had other cakes to get on left it a while. 


I am finishing off a pink Nissan Micra cake so must get with it so will be back to tell & show you the sourdough starter & loaves :)

Well the patience I had for croissants has been well surpassed with the patience (and of course the required amount of  love) need to making a sourdough starter and basic sourdough loaf.

Though I have had to manage this around other cooking too .... so maybe not distracted by other things it would have been quicker.

Anyway I'm now on day 9 !!!!

 So now on with the basic sourdough


If the sourdough started is to be used often then it can be kept out on a kitchen worktop in an airtight container.  If it is not to be used that oftern then it can be kept in the fridge - it then becomes dormant - bit a volcano type mix I guess .... waiting....

Remember to feed it though if used often replacing the mix taken out with 5oog of flour and enough water to get that gloopiness. 

Love that word gloopy.

When you are ready used 500g of the started and mix it with 750g of strong white flour and two \thirds if the water ( somewhere between 350-450 mls of tepid water).

Mix your hands ... wonderful feeling ... and once you have the basic dough tip onto a lightly oiled surface and knead for 5-10 minutes.  Once it feels silky smooth leave it to prove and rise for approximately 5 hours - at least doubles in size.

Cover two baking trays with cloths and dust them heavily with flour ... or two proving baskets - which I don't have so improvised with two bowl like containers. :


Tip the risen dough out of the bowl onto a lightly floured surface and knead the dough into itself by folding the edges into the middle - do this until all the sair pressed out of the dough.
At this point cut the dough ball in half.  Put each ball onto the floured cloth and then dust the dough with some more flour.


 Place it into the proving bowls if you have one if not wrap it up into the cloth then place each into a clean plastic bag and leave it at a temp. or 22-24 degrees for 10-13 hours.


If it had become over active it will look wrinkly - you will have to reshape it and leave it to prove again (5-6 hours only this time) - do not knead it.

If howevert all is well and it has doubled its size then you are ready !

Heat your oven to 200 degrees.
Line two baking trays with baking parchment and  turn the doughs onto the parchment upside down - so the wrinkle underside is face up.  Cut a heavy slash across the middle -which well deepen when cooking.

Bake the breads for 30-40 minutes until golden brown and sounds hollow when you tap the underside.

Cool on a wire rack.


Mmmmmm - very different from regular bread.
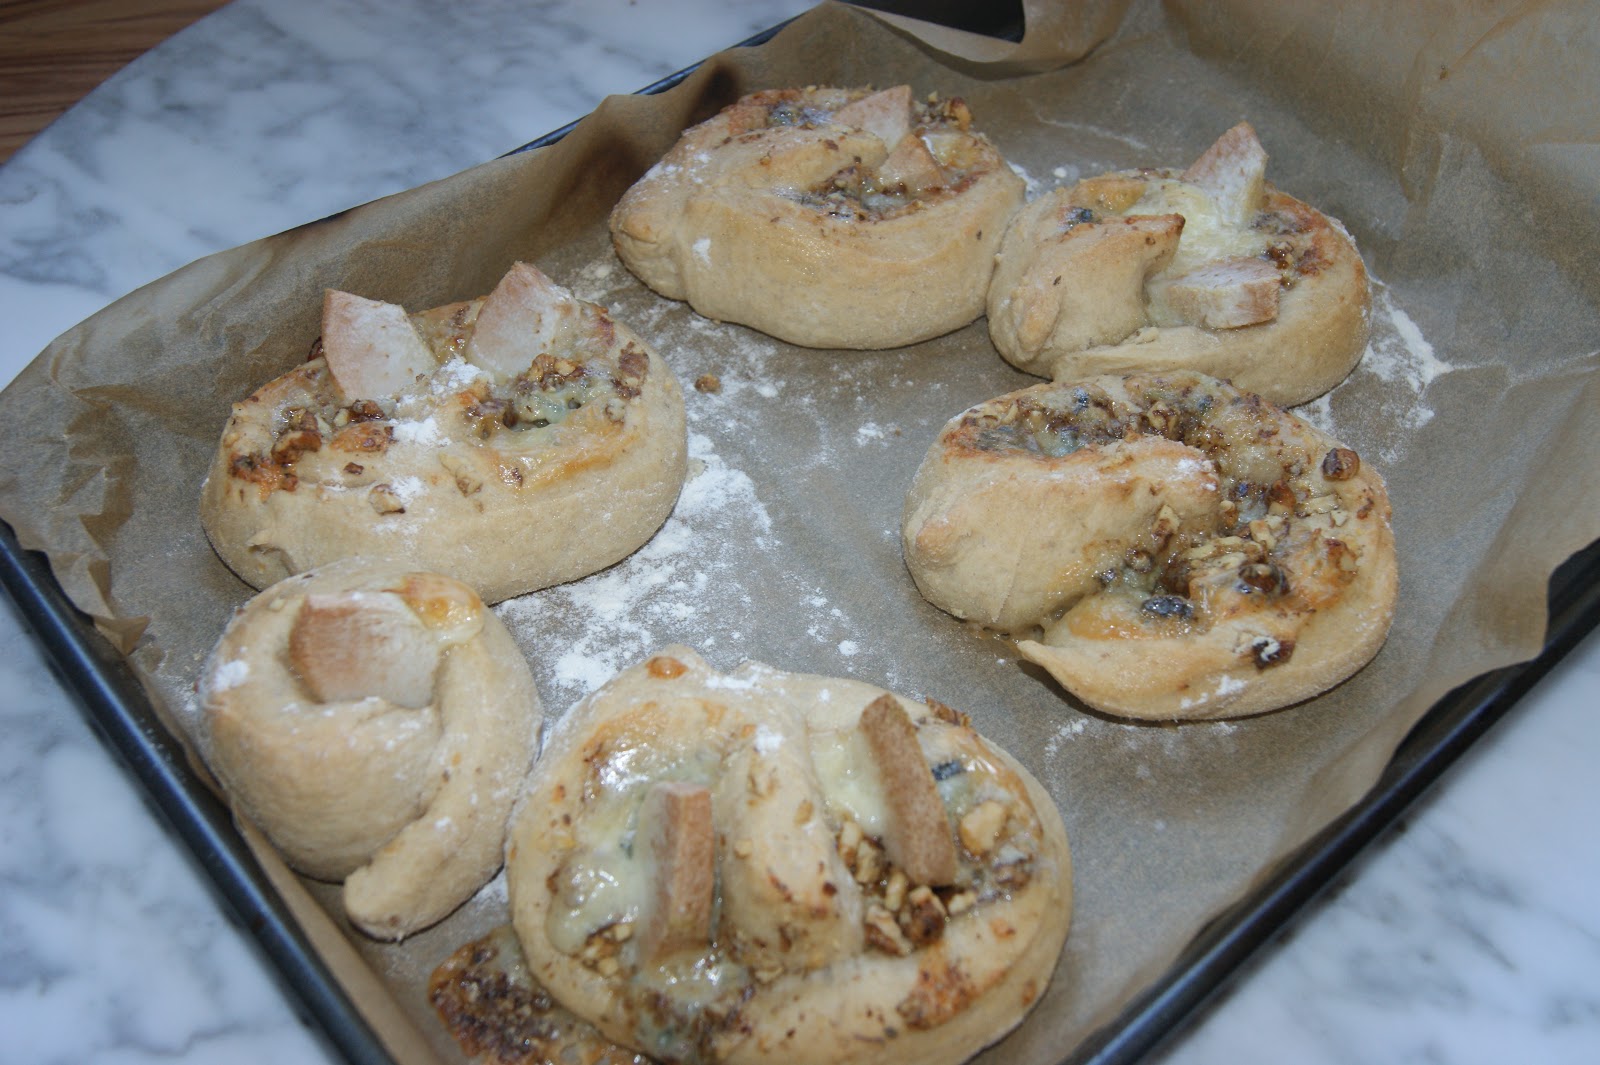
There is a tartiness flavour to it ... quite delicious and I need to make some with walnuts.

But that will have to wait.

While waiting for this come to fruition I turned my hand to Paul's banana & walnut loaf.
My next post.


Sunday, 24 February 2013

Croissants p.164 / 165

Have patience because the end results definitely justify the means ...
They took, because I left them to prove overnight rather stay up very late, nearly 24 hours but can be made in 18 hours.

So it needs time, patience and of course a lot a love -  make everything with love.

Buttery - a Sunday breakfast or indeed Saturday ... Christmas Day or Boxing Day ... birthday ... any special occasion or just pure indulgence - and we all need some of that don't we ...

This recipe used a dough hook on the mixer and so I did just that mixing the flour, salt & sugar, yeast and cool water - on a slow speed for, as Paul suggests 2 minutes, then for 6 minutes creating a fairly stiff dough.

Will be back but the Bradford City v Swansea City game is calling ... back at 0-3.

The dough hook doing its work :

 
The tight ball of dough -

 
which is then placed into a plastic bag and chilled in the fridge for an hour.


After an hour the dough needs to be rolled into a rectangle 60cms X 20cms.
 
The butter needs to be beaten into a rectangle 40cms X 19cms - I did this between two layers of parchment paper.


I then positioned the butter onto the bottom two thirds foldinbg over the top and then cutting the butter and placing half of it on the exposed dough of the third I had folded over.


That gave me a good square and I pinched the edges enclosing the butter.

 
I had a sandwich of dough, butter, dough, butter and dough.
I then put it a platic bag and put it back in the fridge for anothet hour to harden the softening butter.
 
After the hour take out the dough and with the short edge facing you roll out a rectangle 60cms X 20cms.  Next fold up one third and then the top third down, forming a neat square. Paul Hollywood refers to this as a single turn.
 
Put the doughback into the plastic bad and return to the fridge to chill for another hour.
 
Repeat that stage two more times, remembering to return it to the fridge for an hour after each 'turn'.
 
You now have to leave the dough in the frige for 8 hours or indeed as I did overnight so that it can rest and rise slightly.
 
Once you are ready to staft the shaping of the croiussants line 2 - 3baking trays with baking parchment or silicone paper - this is so the dough does not stick.
 
Put the dough onto a lightly floured surface and roll it out into a rectangle so that it measures just a little over 42cms X 30cms - and about 7mm in thickness.  Using a pizza cutter or very sharp knife trim the edges.
 
Cut the rectangle into 2 strips lengthways.
Next cut triangles measuring 12cms at their base and 15cms high :


Before you roll up each trainagle hold onto the wide base and gently pull ... tug the opposite end so that you create a little tension in the dough.  Now roll up starting at the wide end  ... you should end up with 12 croissants .... I used the little over pieces and rolled them up too.
 

(Swansea just won 0-5 !  Hooray !!)
 
Place them onto the lined baking traces, spacing them becasue they will rise. 


With the croissant shaped dough on the lined trays put the trays into clean plastic bags and leave them at cool room temperature for 2 hours until they have doubled in size. The book suggests a temperature between 18 -24 C.

Heat your oven to 220C / gas mark 7.


Lightly brush them with a mix of beaten egg and a pinch of salt on the tops and sides.
Bake them for 15-20 minutes until golden brown.


Voila !
Now at this point I just couldn't resist so tried one as it came out of the oven ...OMG ... WOW !
Then I resisted the temptation in front of me ( and the rugby international calling at the local rugby club !!!) put them onto the cooling rack and left them.

I returned a little later and took two up to Sarah & Wyn Jenkins - stalwart members of my tasting panel.  I had another as did my daughter - gave three to my sister, had another two for Sunday morning breakfast which I first heated up in the oven - as did my daughter ... too good to keep - they went .... so yummishly good.


So go on .... take a bite ... don't resist the temptation - give into it ... and savour every mouthful :)
 
My next venture will be sourdough bread ...p.130 -132 & 142/143

Tuesday, 19 February 2013

Wholemeal loaf p.40 / 41

Made this sooner than I planned since the bread in our  bread had gone mouldy :( but the result was why don't I always bake my own bread ?

So wholesome.

I also found out today you can use sweet chestnuts (not horse chestnuts - conkers) to make a flour ...wow, and the seeds of the sedge plant can also be used to make flour.

So I made the dough first thing this morning before going out using a combination of strong wholemeal and stron white - added to crerate a lightness and athe recipe also states more white flour / less wholemal can be added to make the trexture more delicate.


The poured the flours into a large bowl :

 
 Then added softened unsalted butter :

 
to which I also added the easy bakle yeast and salt keeping them separate.  Then I added some of the luke warm water ... about 3/4 then added the rest as I mixed it, again with my hands.  You may not need to add all of the water though may need to add more - depends on the flour and how absorbant it it.  Don't let the mix get soggy and sloppy.

This is the dough once all ingredients have been incorporated but before kneading. :


You need to lightly oil a deep bowl - I used the same one :


Put the keaded ball of dough into the bowl - cover it with a clean teatowel and leave it for at least 1 hour maybe 2-3  ... I left for 4 :)

Et volia !
 
Before tipping it our of the bowl I lined a baking tray with parchment paper :


I then rolled the dough into a sausage shape to approx. 30 cms long.  Next I tied into a knot  and placed onto the baking tray and then placed it into a plastic bag.  I then left it to prove for 1 hour.
 
With 20 minutes to go I  pre-heated the oven to 220 degree / gas mark 7.

 
The tray was then placed into the pre-heated oven.
 
It needs to be cooked for 30 minutes  - you can tell it is done by its crispy outer and if it sounds hollow when tapped at the base.


The cut loaf :

 
Making your own bread - there's nothing quite like it - go on try it ...


Wednesday, 13 February 2013

Gorgonzola, Pear and Walnut Bakes p.94/95

Over dinner tonight ... home made chicken & ham pasty, Tracy picked this one and as a result have recruited a new member to my tasting panel.

It will be good to see if these could be added to the menu for her 50th birthdsay celebrations in the summer. I now have Mondays project - it's good to have tasty delights to look forward to .... see you then :)

Well chosen Tracy Anstee !  

I made the bread dough first thing this morning using the same technique as the dried cherries & roquefort bread : use your hands because your sense of  touch is far more accurate  rather than sight when using a mixer.  Once your have formed your ball of dough and all the mix has been been included - sides of the clean - tip it out onto a lightly floured board :

 Knead it for 5-10 minutes until you have a ball of dough which has a smooth outer "skin".
Place it into a lightly oiled deep bowl and place a clean tea towel over it and,let it prove over 1 - 3 hours until it has at least doubled in size.  I, infact, left it longer since I was doing other thiongs including the sourcing of gorgonzola .... maybe 5 hours ...

Of course having sourced  gorgonzola ... Sainsbury's ... there were two types : dolce and piccante - hmmmm - which one ? Well the Silver Fox didn't state which one so a combo ! Soft, creamy and light : dolce, mixed with a harder - though a soft edge to it, more intense or deeper taste : piccante.


As you can see the dough rose well but you must not knock the air out of it in the next stage.
To remove I was going to use this "paddle" :


but didn't need to since the bowl had been lightly oiled and it tipped out easily onto my slab of marble on my work top.

I then lined two baking trays with baking parchment.


Pre-heat the oven at 220 or gas mark 7.


I then rolled the dough into a rectangle approx. 2.5 cms thick with the long edge infront of me - making the egde near me was tacked to the work surface.
 
 
I chopped up the gorgonzola into smallish pices and smashed (whacked them in a plastic food bvad witha rolling pin - a very therapeutic action for those who have a had a bad day at the office - better a split food bag of walnuts than a day in the office !) the walnuts into small pieces.  I peeled, cored and cut up te pears too into think small slices :


I then scattered the cheese over the rectangle and thern added the smashed walnut pieces.


Next I rolled the dough and contents into a sausage shape ensuring the edge was firmly attached to the long roll :
 
I rolled the sausage shape to ensure the dough stuck together.
Using a sharp knife I then cut out 3cms pieces - I got 10 good size pieces , the book says 15 ...  ooops :/ I placed them onto the two lined baking trays.


 I then placed the two baking trays into a plastic beg and let it prove for 30 minutes.  Last of all before placing them into the oven I placed two pieces of pear into each 'bak'e, sprinkled them lightly with flour and put them into the pre-heated oven.

Cook for 15 -20 minutes - mine took 25 ... until golden brown and of course cookred through - the botton when tapped should sound hollow - that's what I was told by Mrs. Morris - my Domestic Science teacher at Olchfa Comprehensive School '73-'75.

Voila !


Yet another one you'll have to make unless you're on my tasting panel - always looking for new members - indeed I recruited today.

So next will be wholemeal bread and croissants - Normandy butter ready and waiting :)
.